Mastering the Leap: How to Transition from a 2x2 to a 3x3 Without Losing Your Mind
Successfully transition from a 2x2 to a 3x3 Rubik's Cube with our easy guide. Learn the differences,...
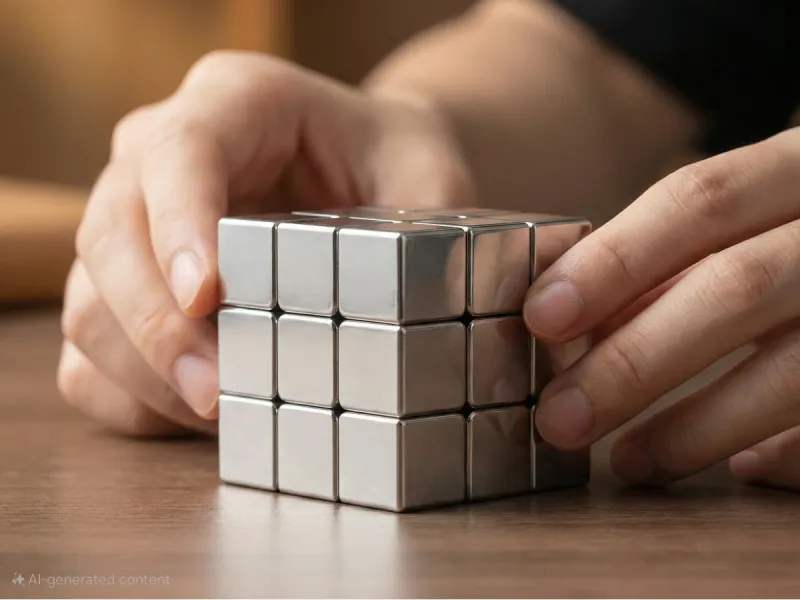
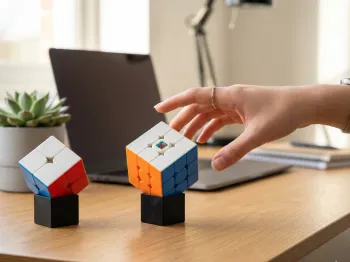
For many speedcubers, the classic 3x3 Rubik's Cube is all about color recognition and muscle memory. But what happens when you strip away the colors and replace them with varying dimensions? Enter the Mirror Cube (also known as the Mirror Blocks). This shape-shifting puzzle uses the same internal mechanism as a standard 3x3, but instead of six colors, you have six different thicknesses for each layer. Solving it requires a fundamental shift in strategy: you must learn to solve by touch and spatial awareness rather than visual hue.
To solve by touch, you first need to understand the pieces. Unlike a standard cube where every piece is the same size, the Mirror Cube features pieces of varying widths, heights, and depths. When scrambled, the cube loses its cubic shape, becoming a jagged, metallic mess.
Solving by touch means using your fingertips to feel the alignment of the pieces. When a piece is correctly placed, the surface becomes perfectly flush (flat). If a piece is slightly raised or recessed, it’s in the wrong spot or incorrectly oriented.
Practice closing your eyes and feeling the difference between a 'thin' edge and a 'thick' edge. This sensory feedback is your primary guide. You aren't looking for blue or red; you are looking for a piece that is 1.5cm wide to fit into a 1.5cm gap.
Most cubers use the Beginner's Method or CFOP for the Mirror Cube. Here is how to adapt your strategy for tactile solving:
Start by identifying the thinnest or thickest layer. Most people prefer starting with the thinnest layer because the pieces are easiest to distinguish. Rotate the faces until you feel the edge pieces align perfectly with the height of the center piece. Once you have a 'flat' cross, you’ve established your foundation.
In this stage, you are looking for corner-edge pairs. Instead of looking for color matches, you are looking for depth matches. A corner piece will have three dimensions. By feeling the slots in the bottom and middle layers, you can identify which corner 'plugs' the hole perfectly. If the side of the piece feels flush with the center piece next to it, it is correctly inserted.
Orienting and Permuting the Last Layer (OLL and PLL) on a Mirror Cube is where things get tricky. Since you can't see the 'yellow' top, you must feel for the height. A 'solved' top layer will be entirely flat across the top surface. If pieces are sticking up, you apply your OLL algorithms until the top feels uniform. For PLL, look (or feel) for 'headlights'—two corners of the same height—to determine which algorithm to run.
Solving the Mirror Cube by touch is a rewarding challenge that enhances your spatial reasoning and prepares you for blindfolded 3x3 solving. Once you stop looking for colors and start feeling the geometry, the puzzle takes on a whole new dimension of fun.